
If you are interested to learn about the Python – XML processing
Python provides various options for developing graphical user interfaces (GUIs). Most important are listed below.
- Tkinter − Tkinter is the Python interface to the Tk GUI toolkit shipped with Python. We would look this option in this chapter.
- wxPython − This is an open-source Python interface for wxWindows
- JPython − JPython is a Python port for Java which gives Python scripts seamless access to Java class libraries on the local machine..
There are many other interfaces available, which you can find them on the net.
Tkinter Programming
Tkinter is the standard GUI library for Python. Python when combined with Tkinter provides a fast and easy way to create GUI applications. Tkinter provides a powerful object-oriented interface to the Tk GUI toolkit. Creating a GUI application using Tkinter is an easy task. All you need to do is perform the following steps −
- Import the Tkinter module.
- Create the GUI application main window.
- Add one or more of the above-mentioned widgets to the GUI application.
- Enter the main event loop to take action against each event triggered by the user.
Example
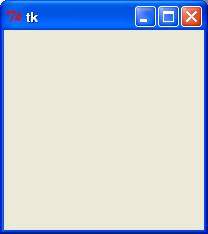
#!/usr/bin/python

import Tkinter
top = Tkinter.Tk()
# Code to add widgets will go here...
top.mainloop()
This would create a following window −
Tkinter Widgets
Tkinter provides various controls, such as buttons, labels and text boxes used in a GUI application. These controls are commonly called widgets. There are currently 15 types of widgets in Tkinter. We present these widgets as well as a brief description in the following table −
| Sr.No. | Operator & Description |
|---|---|
| 1 | ButtonThe Button widget is used to display buttons in your application. |
| 2 | CanvasThe Canvas widget is used to draw shapes, such as lines, ovals, polygons and rectangles, in your application. |
| 3 | CheckbuttonThe Checkbutton widget is used to display a number of options as checkboxes. The user can select multiple options at a time. |
| 4 | EntryThe Entry widget is used to display a single-line text field for accepting values from a user. |
| 5 | FrameThe Frame widget is used as a container widget to organize other widgets. |
| 6 | LabelThe Label widget is used to provide a single-line caption for other widgets. It can also contain images. |
| 7 | ListboxThe Listbox widget is used to provide a list of options to a user. |
| 8 | MenubuttonThe Menubutton widget is used to display menus in your application. |
| 9 | MenuThe Menu widget is used to provide various commands to a user. These commands are contained inside Menubutton. |
| 10 | MessageThe Message widget is used to display multiline text fields for accepting values from a user. |
| 11 | RadiobuttonThe Radiobutton widget is used to display a number of options as radio buttons. The user can select only one option at a time. |
| 12 | ScaleThe Scale widget is used to provide a slider widget. |
| 13 | ScrollbarThe Scrollbar widget is used to add scrolling capability to various widgets, such as list boxes. |
| 14 | TextThe Text widget is used to display text in multiple lines. |
| 15 | ToplevelThe Toplevel widget is used to provide a separate window container. |
| 16 | SpinboxThe Spinbox widget is a variant of the standard Tkinter Entry widget, which can be used to select from a fixed number of values. |
| 17 | PanedWindowA PanedWindow is a container widget that may contain any number of panes, arranged horizontally or vertically. |
| 18 | LabelFrameA labelframe is a simple container widget. Its primary purpose is to act as a spacer or container for complex window layouts. |
| 19 | tkMessageBoxThis module is used to display message boxes in your applications. |
Let us study these widgets in detail −
Standard attributes
Let us take a look at how some of their common attributes.such as sizes, colors and fonts are specified.
- Dimensions
- Colors
- Fonts
- Anchors
- Relief styles
- Bitmaps
- Cursors
Let us study them briefly −
Geometry Management
All Tkinter widgets have access to specific geometry management methods, which have the purpose of organizing widgets throughout the parent widget area. Tkinter exposes the following geometry manager classes: pack, grid, and place.
- The pack() Method − This geometry manager organizes widgets in blocks before placing them in the parent widget.
- The grid() Method − This geometry manager organizes widgets in a table-like structure in the parent widget.
- The place() Method − This geometry manager organizes widgets by placing them in a specific position in the parent widget.
Building Your First Python GUI Application With Tkinter
The foundational element of a Tkinter GUI is the window. Windows are the containers in which all other GUI elements live. These other GUI elements, such as text boxes, labels, and buttons, are known as widgets. Widgets are contained inside of windows. First, create a window that contains a single widget. Start up a new Python shell session and follow along!
Note: The code examples in this tutorial have all been tested on Windows, macOS, and Ubuntu Linux 20.04 with Python version 3.10.
If you’ve installed Python with the official installers available for Windows and macOS from python.org, then you should have no problem running the sample code. You can safely skip the rest of this note and continue with the tutorial! If you haven’t installed Python with the official installers, or there’s no official distribution for your system, then here are some tips for getting up and going.
Python on macOS with Homebrew:
The Python distribution for macOS available on Homebrew doesn’t come bundled with the Tcl/Tk dependency required by Tkinter. The default system version is used instead. This version may be outdated and prevent you from importing the Tkinter module. To avoid this problem, use the official macOS installer.
Ubuntu Linux 20.04:
To conserve memory space, the default version of the Python interpreter that comes pre-installed on Ubuntu Linux 20.04 has no support for Tkinter. However, if you want to continue using the Python interpreter bundled with your operating system, then install the following package:
$ sudo apt-get install python3-tk
This installs the Python GUI Tkinter module.
Other Linux Flavors:
If you’re unable to get a working Python installation on your flavor of Linux, then you can build Python with the correct version of Tcl/Tk from the source code. For a step-by-step walk-through of this process, check out the Python 3 Installation & Setup Guide. You may also try using pyenv to manage multiple Python versions. With your Python shell open, the first thing you need to do is import the Python GUI Tkinter module:>>>
>>> import tkinter as tk
A window is an instance of Tkinter’s Tk class. Go ahead and create a new window and assign it to the variable window:>>>
>>> window = tk.Tk()
When you execute the above code, a new window pops up on your screen. How it looks depends on your operating system:
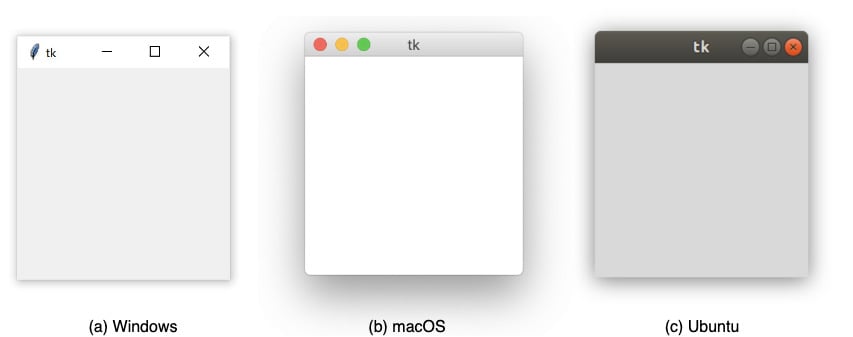
Throughout the rest of this tutorial, you’ll see Windows screenshots.
Adding a Widget
Now that you have a window, you can add a widget. Use the tk.Label class to add some text to a window. Create a Label widget with the text "Hello, Tkinter" and assign it to a variable called greeting:>>>
>>> greeting = tk.Label(text="Hello, Tkinter")
The window you created earlier doesn’t change. You just created a Label widget, but you haven’t added it to the window yet. There are several ways to add widgets to a window. Right now, you can use the Label widget’s .pack() method:>>>
>>> greeting.pack()
The window now looks like this:
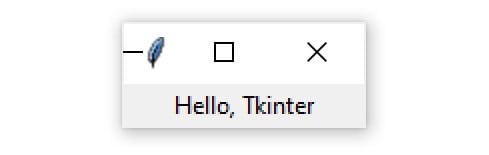
When you pack a widget into a window, Tkinter sizes the window as small as it can be while still fully encompassing the widget. Now execute the following:>>>
>>> window.mainloop()
Nothing seems to happen, but notice that no new prompt appears in the shell.
window.mainloop() tells Python to run the Tkinter event loop. This method listens for events, such as button clicks or keypresses, and blocks any code that comes after it from running until you close the window where you called the method. Go ahead and close the window you’ve created, and you’ll see a new prompt displayed in the shell.
Warning: When you work with Tkinter from a Python REPL, updates to windows are applied as each line is executed. This is not the case when a Tkinter program is executed from a Python file!
If you don’t include window.mainloop() at the end of a program in a Python file, then the Tkinter application will never run, and nothing will be displayed.
Creating a window with Tkinter only takes a couple of lines of code. But blank windows aren’t very useful! In the next section, you’ll learn about some of the widgets available in Tkinter, and how you can customize them to meet your application’s needs.
Check Your Understanding
Expand the code blocks below to check your understanding:
Exercise: Create a Tkinter windowShow/Hide
You can expand the code block below to see a solution:
Solution: Create a Tkinter windowShow/Hide
When you’re ready, you can move on to the next section.
Working With Widgets
Widgets are the bread and butter of the Python GUI framework Tkinter. They’re the elements through which users interact with your program. Each widget in Tkinter is defined by a class. Here are some of the widgets available:
| Widget Class | Description |
|---|---|
Label | A widget used to display text on the screen |
Button | A button that can contain text and can perform an action when clicked |
Entry | A text entry widget that allows only a single line of text |
Text | A text entry widget that allows multiline text entry |
Frame | A rectangular region used to group related widgets or provide padding between widgets |
You’ll see how to work with each of these in the following sections, but keep in mind that Tkinter has many more widgets than those listed here. The widget’s choice gets even more complicated when you account for a whole new set of themed widgets. In the remaining part of this tutorial, you’re only going to use Tkinter’s classic widgets, though. If you’d like to learn more about the two widget types, then you can expand the collapsible section below:
Classic vs Themed WidgetsShow/Hide
For a full list of Tkinter widgets, check out Basic Widgets and More Widgets in the TkDocs tutorial. Even though it describes themed widgets introduced in Tcl/Tk 8.5, most of the information there should also apply to the classic widgets. Fun Fact: Tkinter literally stands for “Tk interface” because it’s a Python binding or a programming interface to the Tk library in the Tcl scripting language. For now, take a closer look at the Label widget.
Displaying Text and Images With Label Widgets
Label widgets are used to display text or images. The text displayed by a Label widget can’t be edited by the user. It’s for display purposes only. As you saw in the example at the beginning of this tutorial, you can create a Label widget by instantiating the Label class and passing a string to the text parameter:
label = tk.Label(text="Hello, Tkinter")
Label widgets display text with the default system text color and the default system text background color. These are typically black and white, respectively, but you may see different colors if you’ve changed these settings in your operating system. You can control Label text and background colors using the foreground and background parameters:
label = tk.Label(
    text="Hello, Tkinter",
    foreground="white",  # Set the text color to white
    background="black"  # Set the background color to black
)
There are numerous valid color names, including:
"red""orange""yellow""green""blue""purple"
Many of the HTML color names work with Tkinter. For a full reference, including macOS- and Windows-specific system colors that the current system theme controls, check out the colors manual page.
You can also specify a color using hexadecimal RGB values:
label = tk.Label(text="Hello, Tkinter", background="#34A2FE")
This sets the label background to a nice, light blue color. Hexadecimal RGB values are more cryptic than named colors, but they’re also more flexible. Fortunately, there are tools available that make getting hexadecimal color codes relatively painless.
If you don’t feel like typing out foreground and background all the time, then you can use the shorthand fg and bg parameters to set the foreground and background colors:
label = tk.Label(text="Hello, Tkinter", fg="white", bg="black")
You can also control the width and height of a label with the width and height parameters:
label = tk.Label(
    text="Hello, Tkinter",
    fg="white",
    bg="black",
    width=10,
    height=10
)
Here’s what this label looks like in a window:
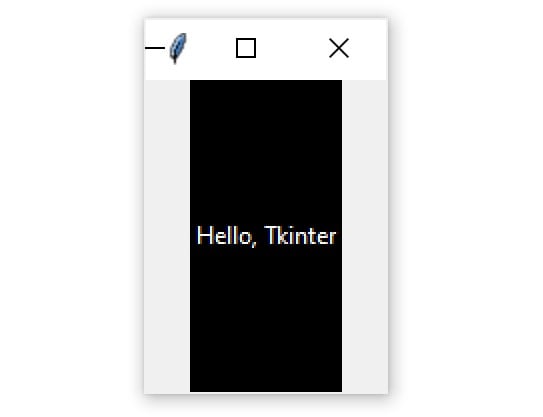
It may seem strange that the label in the window isn’t square even though the width and height are both set to 10. This is because the width and height are measured in text units. One horizontal text unit is determined by the width of the character 0, or the number zero, in the default system font. Similarly, one vertical text unit is determined by the height of the character 0.
Note: For width and height measurements, Tkinter uses text units, instead of something like inches, centimeters, or pixels, to ensure consistent behavior of the application across platforms.
Measuring units by the width of a character means that the size of a widget is relative to the default font on a user’s machine. This ensures the text fits properly in labels and buttons, no matter where the application is running.
Labels are great for displaying some text, but they don’t help you get input from a user. The next three widgets that you’ll learn about are all used to get user input.
Displaying Clickable Buttons With Button Widgets
Button widgets are used to display clickable buttons. You can configure them to call a function whenever they’re clicked. You’ll cover how to call functions from button clicks in the next section. For now, take a look at how to create and style a button.
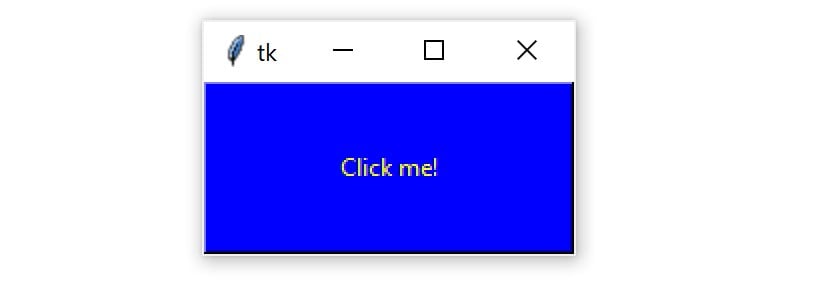
There are many similarities between Button and Label widgets. In many ways, a button is just a label that you can click! The same keyword arguments that you use to create and style a Label will work with Button widgets. For example, the following code creates a button with a blue background and yellow text. It also sets the width and height to 25 and 5 text units, respectively:
button = tk.Button(
    text="Click me!",
    width=25,
    height=5,
    bg="blue",
    fg="yellow",
)
Here’s what the button looks like in a window:
Pretty nifty! You can use the next two widgets to collect text input from a user.
Getting User Input With Entry Widgets
When you need to get a little bit of text from a user, like a name or an email address, use an Entry widget. It’ll display a small text box that the user can type some text into. Creating and styling an Entry widget works pretty much exactly like with Label and Button widgets. For example, the following code creates a widget with a blue background, some yellow text, and a width of 50 text units:
entry = tk.Entry(fg="yellow", bg="blue", width=50)
The interesting bit about Entry widgets isn’t how to style them, though. It’s how to use them to get input from a user. There are three main operations that you can perform with Entry widgets:
- Retrieving text with
.get() - Deleting text with
.delete() - Inserting text with
.insert()
The best way to get an understanding of Entry widgets is to create one and interact with it. Open up a Python shell and follow along with the examples in this section. First, import tkinter and create a new window:>>>
>>> import tkinter as tk
>>> window = tk.Tk()
Now create a Label and an Entry widget:>>>
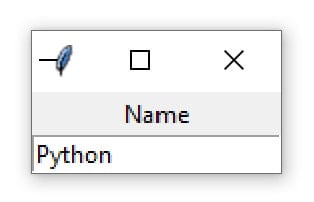
>>> label = tk.Label(text="Name")
>>> entry = tk.Entry()
The Label describes what sort of text should go in the Entry widget. It doesn’t enforce any sort of requirements on the Entry, but it tells the user what your program expects them to put there. You need to .pack() the widgets into the window so that they’re visible:>>>
>>> label.pack()
>>> entry.pack()
Here’s what that looks like:
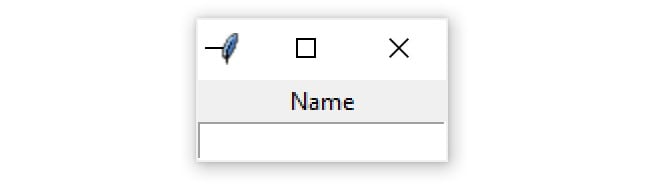
Notice that Tkinter automatically centers the label above the Entry widget in the window. This is a feature of .pack(), which you’ll learn more about in later sections.
Click inside the Entry widget with your mouse and type Real Python:
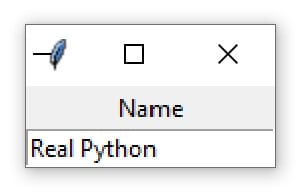
Now you’ve got some text entered into the Entry widget, but that text hasn’t been sent to your program yet. You can use .get() to retrieve the text and assign it to a variable called name:>>>
>>> name = entry.get()
>>> name
'Real Python'
You can delete text as well. This .delete() method takes an integer argument that tells Python which character to remove. For example, the code block below shows how .delete(0) deletes the first character from Entry:>>>
>>> entry.delete(0)
The text remaining in the widget is now eal Python:
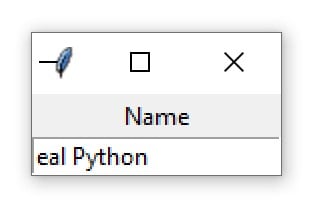
Note that, just like Python string objects, text in an Entry widget is indexed starting with 0.
If you need to remove several characters from an Entry, then pass a second integer argument to .delete() indicating the index of the character where deletion should stop. For example, the following code deletes the first four letters in Entry:>>>
>>> entry.delete(0, 4)
The remaining text now reads Python:
Entry.delete() works just like string slicing. The first argument determines the starting index, and the deletion continues up to but not including the index passed as the second argument. Use the special constant tk.END for the second argument of .delete() to remove all text in Entry:>>>
>>> entry.delete(0, tk.END)
You’ll now see a blank text box:
On the opposite end of the spectrum, you can also insert text into an Entry widget:>>>
>>> entry.insert(0, "Python")
The window now looks like this:
The first argument tells .insert() where to insert the text. If there’s no text in Entry, then the new text will always be inserted at the beginning of the widget, no matter what value you pass as the first argument. For example, calling .insert() with 100 as the first argument instead of 0, as you did above, would’ve generated the same output. If Entry already contains some text, then .insert() will insert the new text at the specified position and shift all existing text to the right:>>>
>>> entry.insert(0, "Real ")
The widget text now reads Real Python:
Entry widgets are great for capturing small amounts of text from a user, but because they’re only displayed on a single line, they’re not ideal for gathering large amounts of text. That’s where Text widgets come in!
Getting Multiline User Input With Text Widgets
Text widgets are used for entering text, just like Entry widgets. The difference is that Text widgets may contain multiple lines of text. With a Text widget, a user can input a whole paragraph or even several pages of text! Just like with Entry widgets, you can perform three main operations with Text widgets:
- Retrieve text with
.get() - Delete text with
.delete() - Insert text with
.insert()
Although the method names are the same as the Entry methods, they work a bit differently. It’s time to get your hands dirty by creating a Text widget and seeing what it can do.
Note: Do you still have the window from the previous section open?
If so, then you can close it by executing the following:>>>
>>> window.destroy()
You can also close it manually by clicking the Close button.
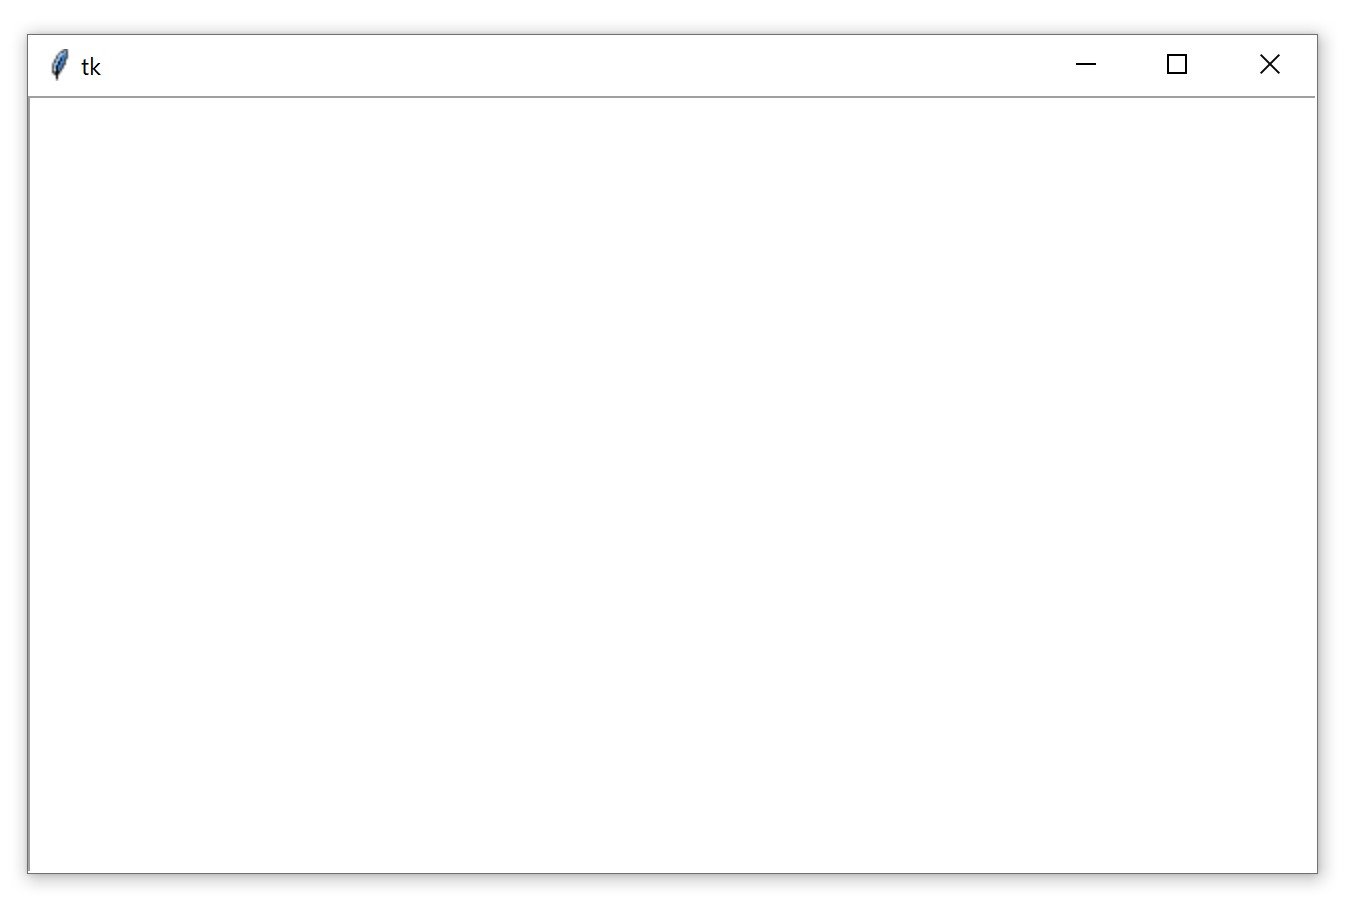
In your Python shell, create a new blank window and pack a Text() widget into it:>>>
>>> window = tk.Tk()
>>> text_box = tk.Text()
>>> text_box.pack()
Text boxes are much larger than Entry widgets by default. Here’s what the window created above looks like:
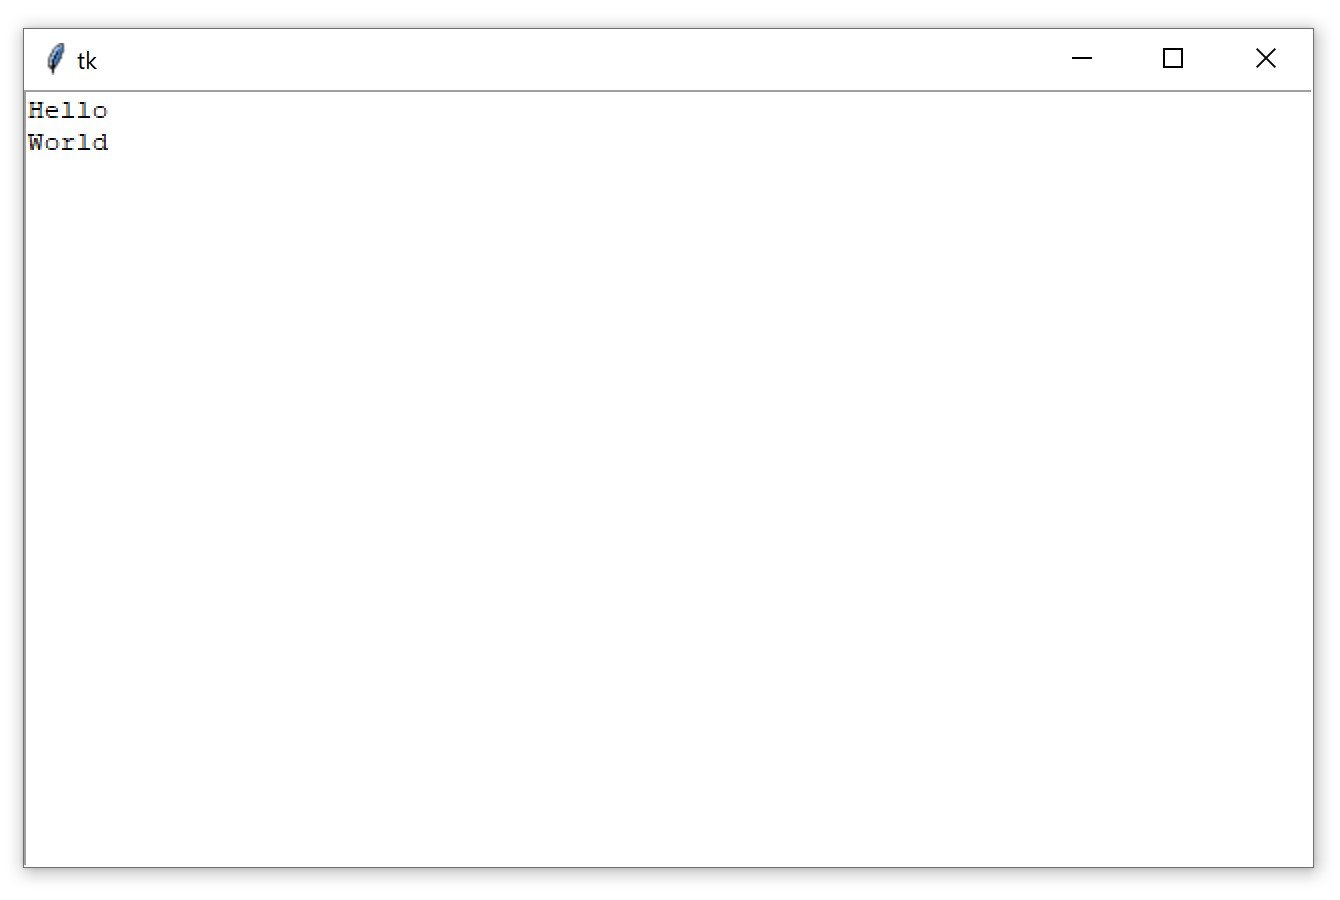
Click anywhere inside the window to activate the text box. Type in the word Hello. Then press Enter and type World on the second line. The window should now look like this:
Just like with Entry widgets, you can retrieve the text from a Text widget using .get(). However, calling .get() with no arguments doesn’t return the full text in the text box like it does for Entry widgets. It raises an exception:>>>
>>> text_box.get()
Traceback (most recent call last):
  ...
TypeError: get() missing 1 required positional argument: 'index1'
Text.get() requires at least one argument. Calling .get() with a single index returns a single character. To retrieve several characters, you need to pass a start index and an end index. Indices in Text widgets work differently than in Entry widgets. Since Text widgets can have several lines of text, an index must contain two pieces of information:
- The line number of a character
- The position of a character on that line
Line numbers start with 1, and character positions start with 0. To make an index, you create a string of the form "<line>.<char>", replacing <line> with the line number and <char> with the character number. For example, "1.0" represents the first character on the first line, and "2.3" represents the fourth character on the second line.
Use the index "1.0" to get the first letter from the text box that you created earlier:>>>
>>> text_box.get("1.0")
'H'
There are five letters in the word Hello, and the character number of o is 4, since character numbers start from 0, and the word Hello starts at the first position in the text box. Just like with Python string slices, in order to get the entire word Hello from the text box, the end index must be one more than the index of the last character to be read.
So, to get the word Hello from the text box, use "1.0" for the first index and "1.5" for the second index:>>>
>>> text_box.get("1.0", "1.5")
'Hello'
To get the word World on the second line of the text box, change the line numbers in each index to 2:>>>
>>> text_box.get("2.0", "2.5")
'World'
To get all of the text in a text box, set the starting index in "1.0" and use the special tk.END constant for the second index:>>>
>>> text_box.get("1.0", tk.END)
'Hello\nWorld\n'
Notice that text returned by .get() includes any newline characters. You can also see from this example that every line in a Text widget has a newline character at the end, including the last line of text in the text box.
.delete() is used to delete characters from a text box. It works just like .delete() for Entry widgets. There are two ways to use .delete():
- With a single argument
- With two arguments
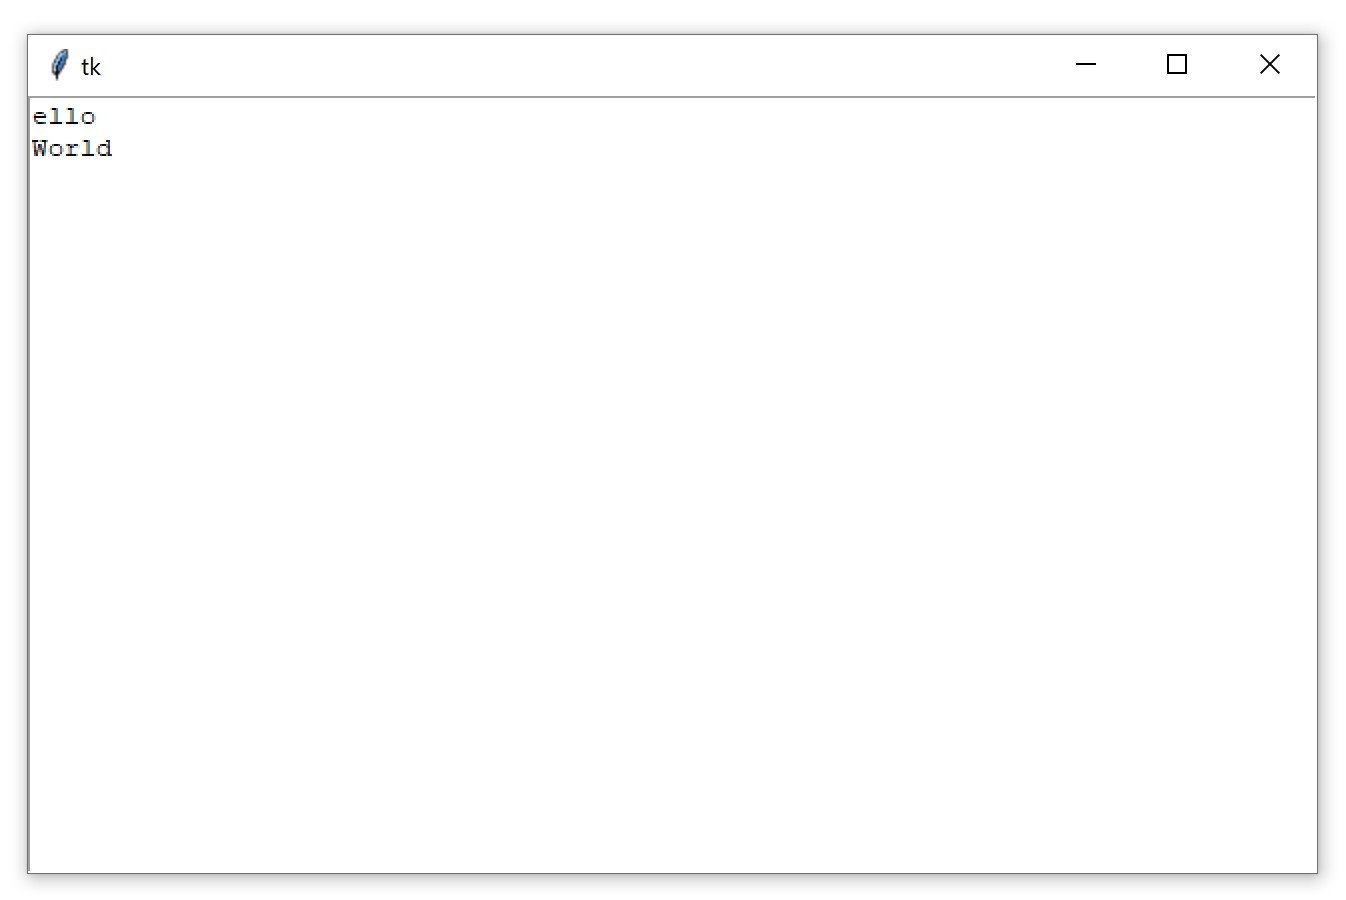
Using the single-argument version, you pass to .delete() the index of a single character to be deleted. For example, the following deletes the first character, H, from the text box:>>>
>>> text_box.delete("1.0")
The first line of text in the window now reads ello:
With the two-argument version, you pass two indices to delete a range of characters starting at the first index and up to, but not including, the second index.
For example, to delete the remaining ello on the first line of the text box, use the indices "1.0" and "1.4":>>>
>>> text_box.delete("1.0", "1.4")
Notice that the text is gone from the first line. This leaves a blank line followed the word World on the second line:
Even though you can’t see it, there’s still a character on the first line. It’s a newline character! You can verify this using .get():>>>
>>> text_box.get("1.0")
'\n'
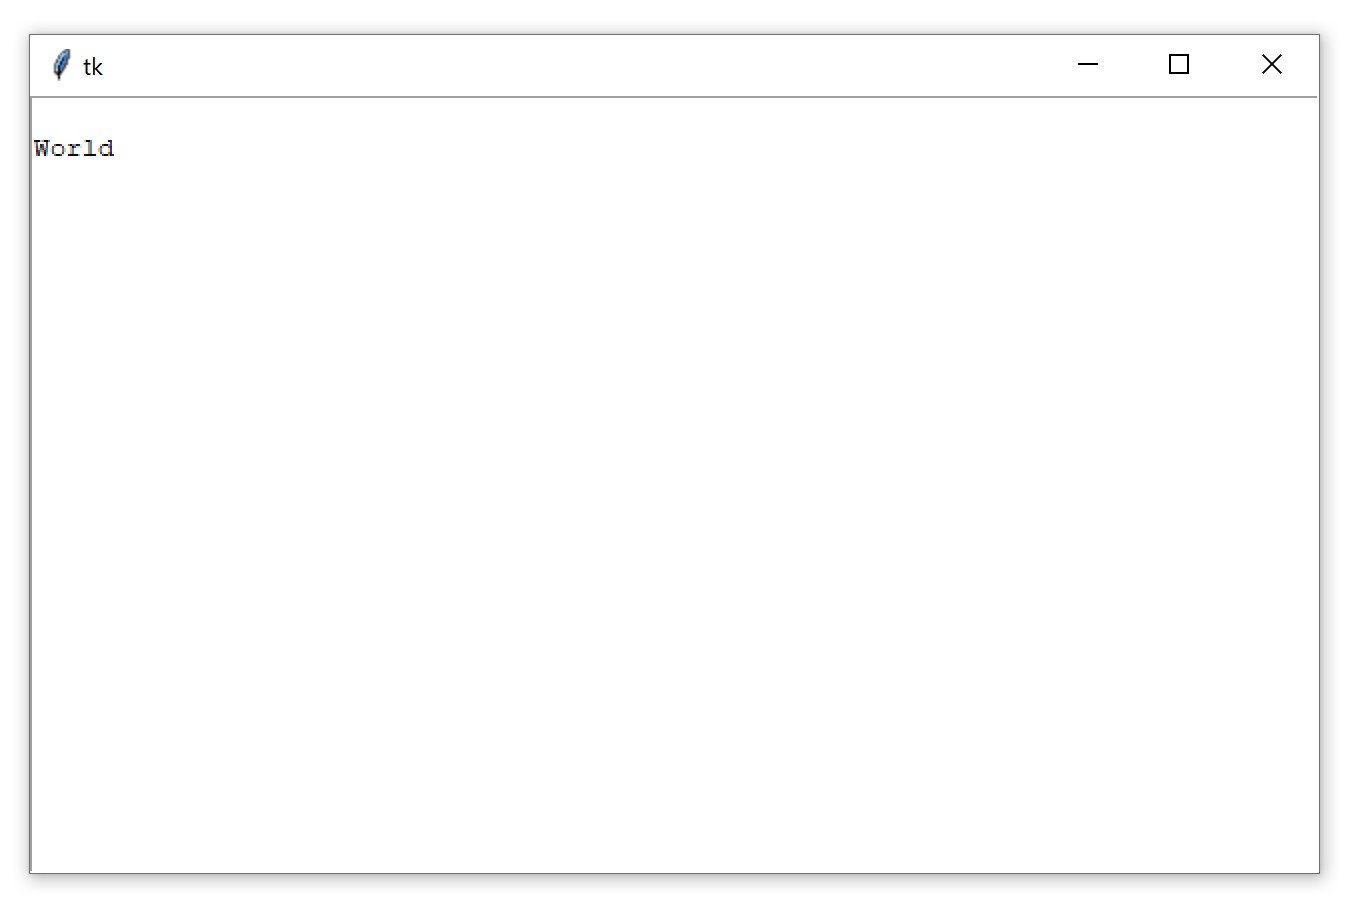
If you delete that character, then the rest of the contents of the text box will shift up a line:>>>
>>> text_box.delete("1.0")
Now, World is on the first line of the text box:
Try to clear out the rest of the text in the text box. Set "1.0" as the start index and use tk.END for the second index:>>>
>>> text_box.delete("1.0", tk.END)
The text box is now empty:
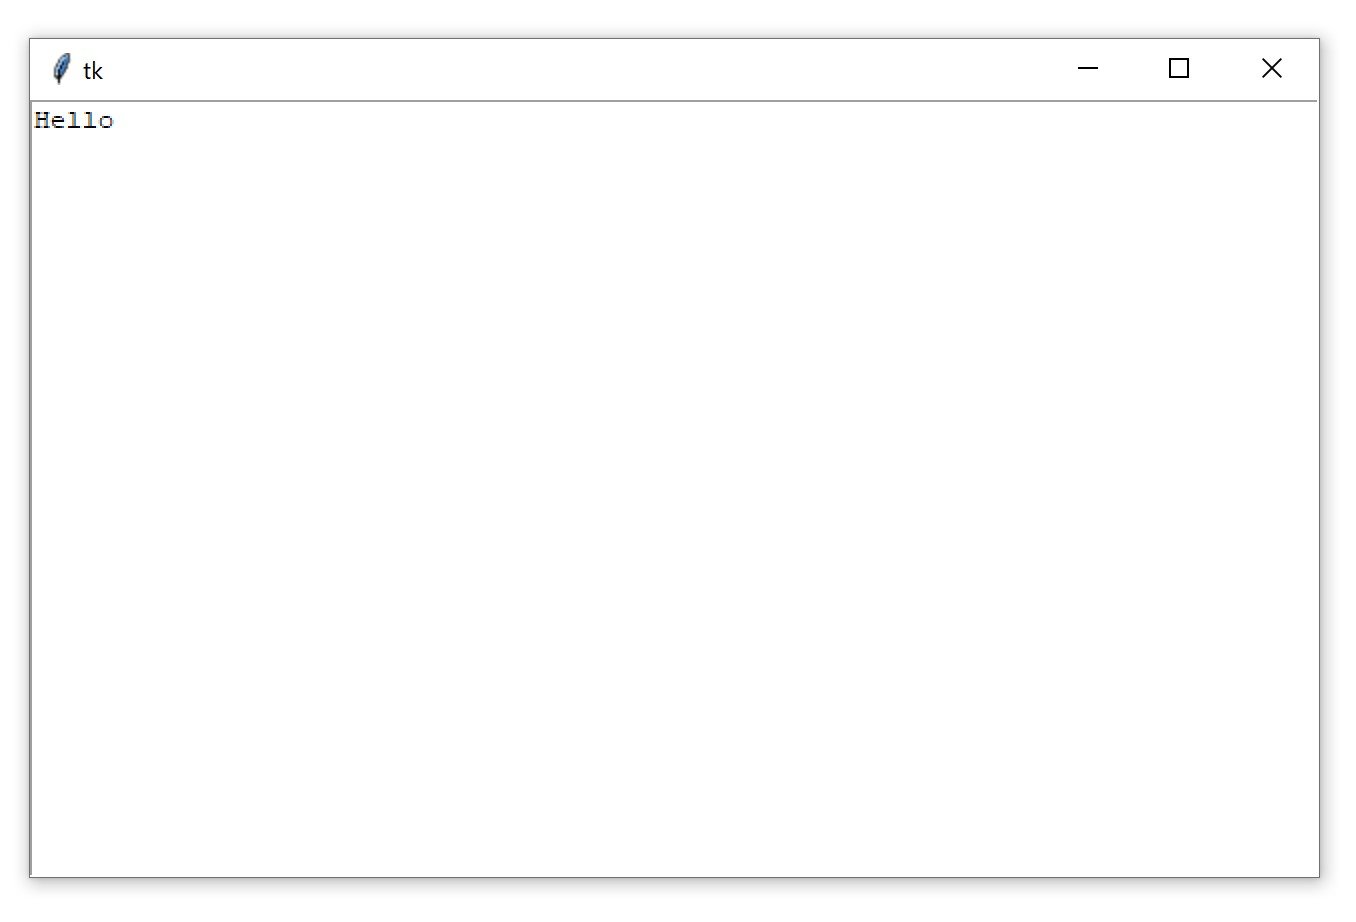
You can insert text into a text box using .insert():>>>
>>> text_box.insert("1.0", "Hello")
This inserts the word Hello at the beginning of the text box, using the same "<line>.<column>" format used by .get() to specify the insertion position:
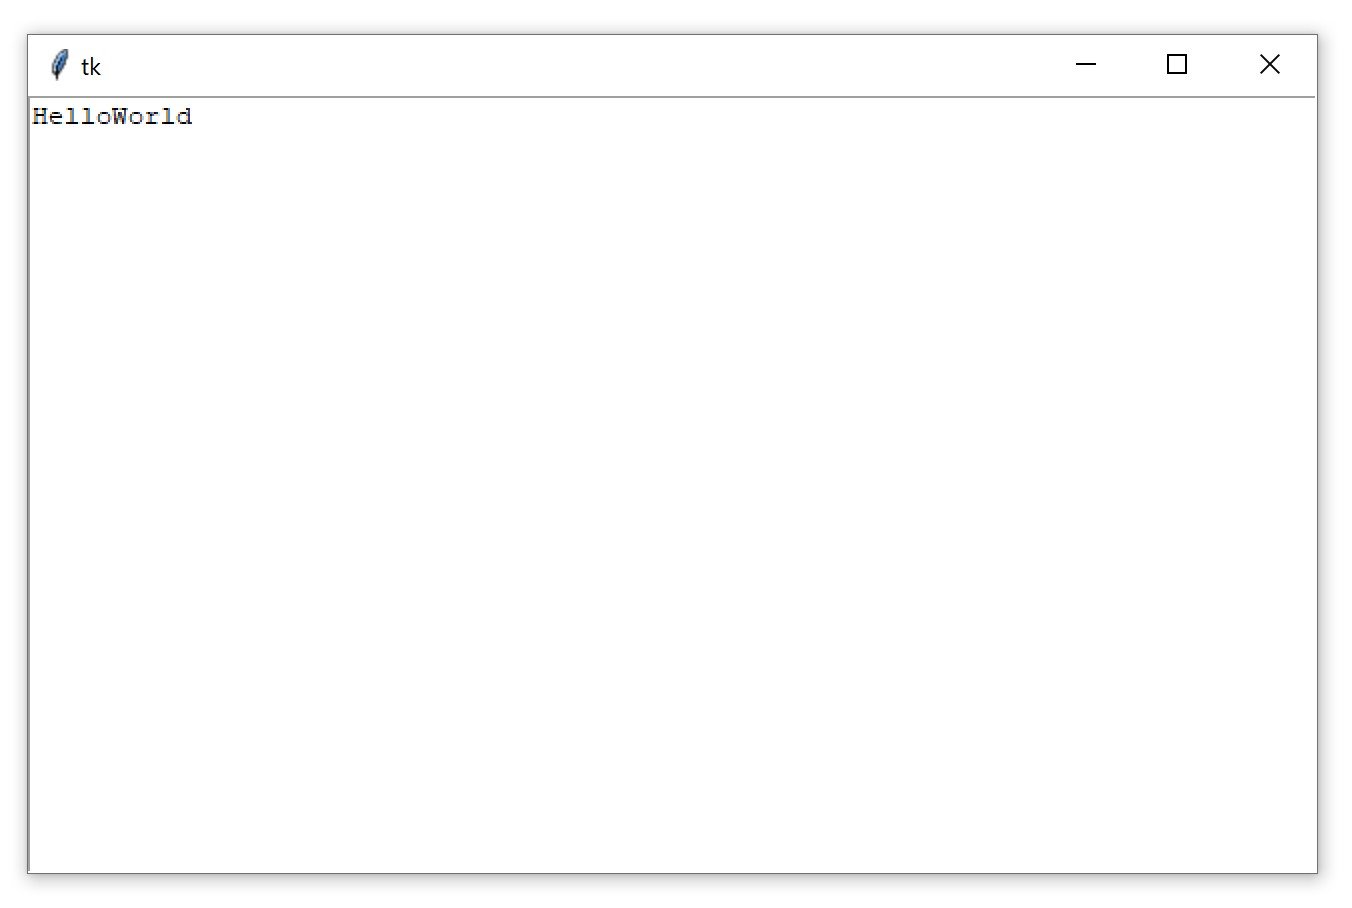
Check out what happens if you try to insert the word World on the second line:>>>
>>> text_box.insert("2.0", "World")
Instead of inserting the text on the second line, the text is inserted at the end of the first line:
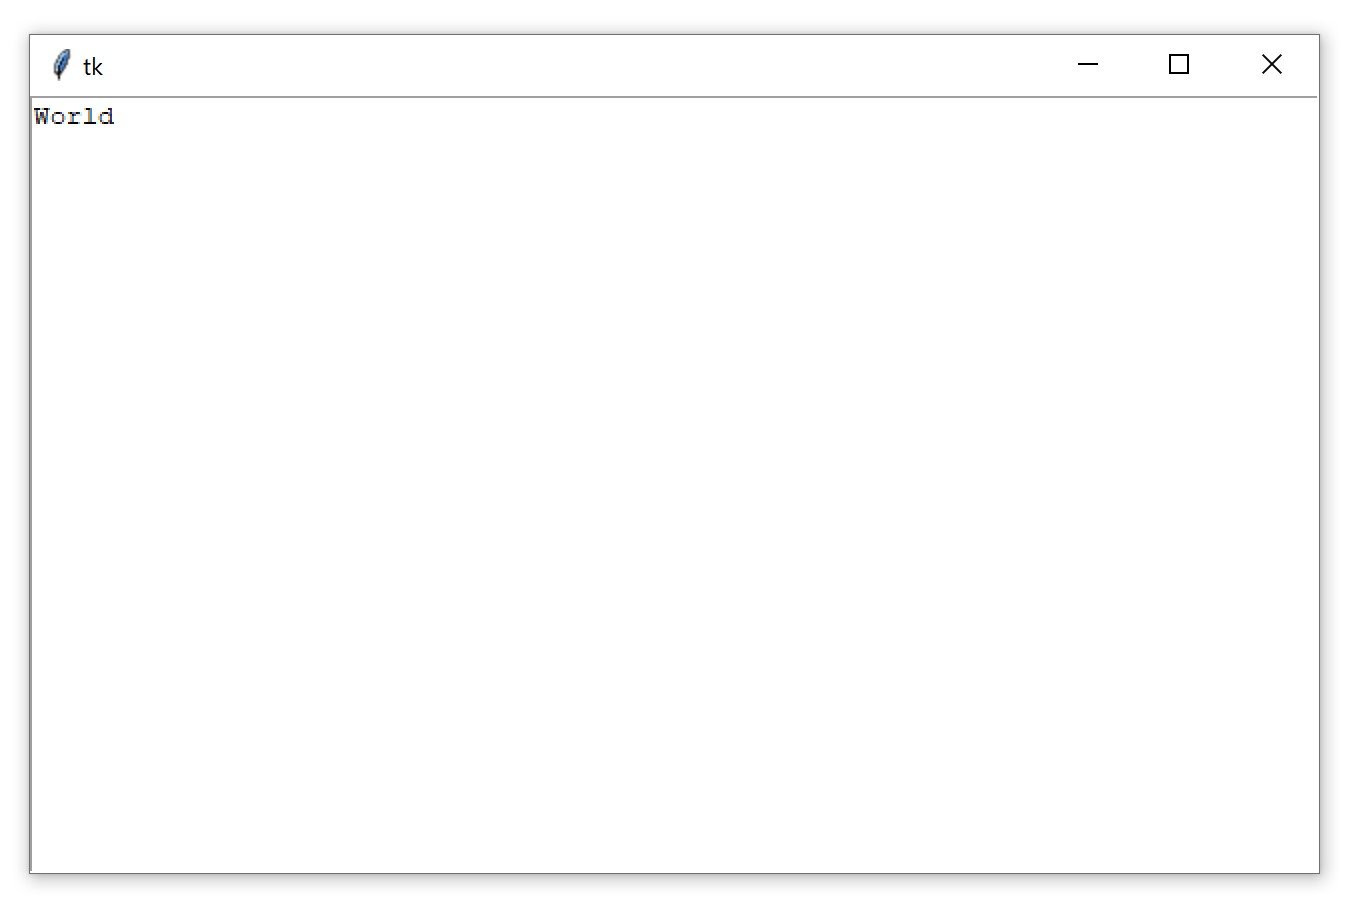
If you want to insert text onto a new line, then you need to insert a newline character manually into the string being inserted:>>>
>>> text_box.insert("2.0", "\nWorld")
Now World is on the second line of the text box:
.insert() will do one of two things:
- Insert text at the specified position if there’s already text at or after that position.
- Append text to the specified line if the character number is greater than the index of the last character in the text box.
It’s usually impractical to try and keep track of what the index of the last character is. The best way to insert text at the end of a Text widget is to pass tk.END to the first parameter of .insert():>>>
>>> text_box.insert(tk.END, "Put me at the end!")
Don’t forget to include the newline character (\n) at the beginning of the text if you want to put it on a new line:>>>
>>> text_box.insert(tk.END, "\nPut me on a new line!")
Label, Button, Entry, and Text widgets are just a few of the widgets available in Tkinter. There are several others, including widgets for checkboxes, radio buttons, scroll bars, and progress bars. For more information on all of the available widgets, see the Additional Widgets list in the Additional Resources section.
Assigning Widgets to Frames With Frame Widgets
In this tutorial, you’re going to work with only five widgets:
LabelButtonEntryTextFrame
These are the four you’ve seen so far plus the Frame widget. Frame widgets are important for organizing the layout of your widgets in an application.
Before you get into the details about laying out the visual presentation of your widgets, take a closer look at how Frame widgets work, and how you can assign other widgets to them. The following script creates a blank Frame widget and assigns it to the main application window:
import tkinter as tk

window = tk.Tk()
frame = tk.Frame()
frame.pack()

window.mainloop()
frame.pack() packs the frame into the window so that the window sizes itself as small as possible to encompass the frame. When you run the above script, you get some seriously uninteresting output:

An empty Frame widget is practically invisible. Frames are best thought of as containers for other widgets. You can assign a widget to a frame by setting the widget’s master attribute:
frame = tk.Frame()
label = tk.Label(master=frame)
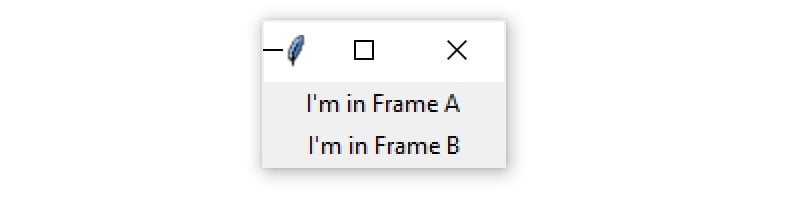
To get a feel for how this works, write a script that creates two Frame widgets called frame_a and frame_b. In this script, frame_a contains a label with the text "I'm in Frame A", and frame_b contains the label "I'm in Frame B". Here’s one way to do this:
import tkinter as tk

window = tk.Tk()

frame_a = tk.Frame()
frame_b = tk.Frame()

label_a = tk.Label(master=frame_a, text="I'm in Frame A")
label_a.pack()

label_b = tk.Label(master=frame_b, text="I'm in Frame B")
label_b.pack()

frame_a.pack()
frame_b.pack()

window.mainloop()
Note that frame_a is packed into the window before frame_b. The window that opens shows the label in frame_a above the label in frame_b:
Now see what happens when you swap the order of frame_a.pack() and frame_b.pack():
import tkinter as tk

window = tk.Tk()

frame_a = tk.Frame()
label_a = tk.Label(master=frame_a, text="I'm in Frame A")
label_a.pack()

frame_b = tk.Frame()
label_b = tk.Label(master=frame_b, text="I'm in Frame B")
label_b.pack()

# Swap the order of `frame_a` and `frame_b`
frame_b.pack()
frame_a.pack()

window.mainloop()
The output looks like this:

Now label_b is on top. Since label_b is assigned to frame_b, it moves to wherever frame_b is positioned.
All four of the widget types that you’ve learned about—Label, Button, Entry, and Text—have a master attribute that’s set when you instantiate them. That way, you can control which Frame a widget is assigned to. Frame widgets are great for organizing other widgets in a logical manner. Related widgets can be assigned to the same frame so that, if the frame is ever moved in the window, then the related widgets stay together.
Note: If you omit the master argument when creating a new widget instance, then it’ll be placed inside of the top-level window by default.
In addition to grouping your widgets logically, Frame widgets can add a little flare to the visual presentation of your application. Read on to see how to create various borders for Frame widgets.

