
If you are interested to learn about the React introduction
To use React in production, you need npm which is included with Node.j To get an overview of what React is, you can write React code directly in HTML. But in order to use React in production, you need npm and Node.js installed.
React Directly in HTML
The quickest way start learning React is to write React directly in your HTML files. Start by including three scripts, the first two let us write React code in our JavaScripts, and the third, Babel, allows us to write JSX syntax and ES6 in older browsers.
Example
Include three CDN’s in your HTML file
<!DOCTYPE html>
<html>
  <head>
    <script src="https://unpkg.com/react@18/umd/react.development.js" crossorigin></script>
    <script src="https://unpkg.com/react-dom@18/umd/react-dom.development.js" crossorigin></script>
    <script src="https://unpkg.com/@babel/standalone/babel.min.js"></script>
  </head>
  <body>

    <div id="mydiv"></div>

    <script type="text/babel">
      function Hello() {
        return <h1>Hello World!</h1>;
      }

      ReactDOM.render(<Hello />, document.getElementById('mydiv'))
    </script>

  </body>
</html>
This way of using React can be OK for testing purposes, but for production you will need to set up a React environment.
Get Certified!
Complete the React modules, do the exercises, take the exam and become w3schools certified!!
$95 ENROLL
Setting up a React Environment
If you have npx and Node.js installed, you can create a React application by using create-react-app. If you’ve previously installed create-react-app globally, it is recommended that you uninstall the package to ensure npx always uses the latest version of create-react-app. To uninstall, run this command: npm uninstall -g create-react-app. Run this command to create a React application named my-react-app:
npx create-react-app my-react-app
The create-react-app will set up everything you need to run a React application.
Run the React Application
Now you are ready to run your first real React application!
Run this command to move to the my-react-app directory:
cd my-react-app
Run this command to run the React application my-react-app:
npm start
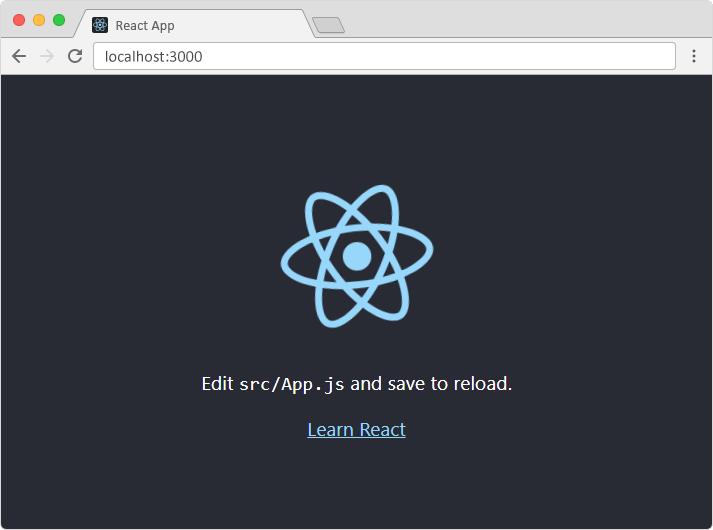
A new browser window will pop up with your newly created React App! If not, open your browser and type localhost:3000 in the address bar.
The result:
Modify the React Application
So far so good, but how do I change the content?
Look in the my-react-app directory, and you will find a src folder. Inside the src folder there is a file called App.js, open it and it will look like this:
Example:
import logo from './logo.svg';
import './App.css';

function App() {
  return (
    <div className="App">
      <header className="App-header">
        <img src={logo} className="App-logo" alt="logo" />
        <p>
          Edit <code>src/App.js</code> and save to reload.
        </p>
        <a
          className="App-link"
          href="https://reactjs.org"
          target="_blank"
          rel="noopener noreferrer"
        >
          Learn React
        </a>
      </header>
    </div>
  );
}

export default App;
Notice that the changes are visible immediately after you save the file, you do not have to reload the browser!
Example
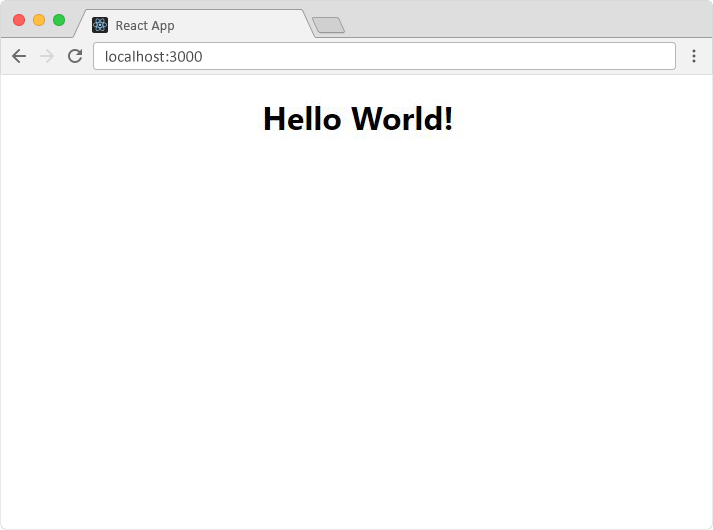
Replace all the content inside the <div className="App"> with a <h1> element. See the changes in the browser when you click Save.
function App() {
  return (
    <div className="App">
      <h1>Hello World!</h1>
    </div>
  );
}

export default App;
Notice that we have removed the imports we do not need (logo.svg and App.css).
The result:
What’s Next?
Now you have a React Environment on your computer, and you are ready to learn more about React. In the rest of this tutorial we will use our “Show React” tool to explain the various aspects of React, and how they are displayed in the browser.
If you want to follow the same steps on your computer, start by stripping down the src folder to only contain one file: index.js. You should also remove any unnecessary lines of code inside the index.js file to make them look like the example in the “Show React” tool below:
Example
Click the “Run Example” button to see the result.
import React from 'react';
import ReactDOM from 'react-dom/client';

const myFirstElement = <h1>Hello React!</h1>

const root = ReactDOM.createRoot(document.getElementById('root'));
root.render(myFirstElement);
Running React
Now that you have a React app, you can start running it. To run your app, run the following command:
npm start
Or using yarn:
yarn start
If you do, you will have started the development server and should see the following:
Compiled successfully!

You can now view app in the browser.

Local:            http://localhost:3000
On Your Network:  http://172.22.48.1:3000

Note that the development build is not optimized.
To create a production build, use yarn build.
JSX
Let’s dive into the React code. If you open up src/App.js, you’ll see that it’s a function that returns some JSX (JavaScript XML).
 return (
     <div className="App">
         <header className="App-header">
             <img src={logo} className="App-logo" alt="logo" />
             <p>
             Edit <code>src/App.js</code> and save to reload.
             </p>
             <a
                 className="App-link"
                 href="https://reactjs.org"
                 target="_blank"
                 rel="noopener noreferrer"
             >
             Learn React
             </a>
         </header>
     </div>
 );
Everything in between parenthesis lets the compiler know that this is a JavaScript expression. This is why we have to use parenthesis to enclose the JSX. JSX is a syntax extension for JavaScript that allows you to write HTML inside of JavaScript. If you know HTML, you essentially know JSX. You can see an example of JavaScript inside the markup here:
<img src={logo} className="App-logo" alt="logo" />The above code is a JSX expression, as logo is coming from the src/logo.svg file. If you make changes to this file, you should see it update immediately in the browser thanks to the development server you have running.
Components
Let’s talk about components because they’re a huge part of React. Components are the building blocks of React apps. They allow you to break up your UI into smaller, reusable pieces.
import logo from './logo.svg';
import './App.css';

function App() {
    return (
        <div className="App">
            <header className="App-header">
                <img src={logo} className="App-logo" alt="logo" />
                <p>
                Edit <code>src/App.js</code> and save to reload.
                </p>
                <a
                    className="App-link"
                    href="https://reactjs.org"
                    target="_blank"
                    rel="noopener noreferrer"
                >
                Learn React
                </a>
            </header>
        </div>
    );
}

export default App;
App is a simple component that imports a logo and CSS file, and returns the JSX that React will use to render the component from a function. As this is just a normal exported function, it can be imported elsewhere and used as a standalone component. You can see where it is imported by opening src/index.js.
import React from 'react';
import ReactDOM from 'react-dom';
import './index.css';
import App from './App';
import reportWebVitals from './reportWebVitals';

ReactDOM.render(
    <React.StrictMode>
        <App />
    </React.StrictMode>,
    document.getElementById('root')
);

// If you want to start measuring performance in your app, pass a function
// to log results (for example: reportWebVitals(console.log))
// or send to an analytics endpoint. Learn more: https://bit.ly/CRA-vitals
reportWebVitals();
This is the entry point of the entire React app. This is where React itself is imported, along with a CSS file and the App component we talked about earlier. This React app is then mounted on the DOM at the element with ID root. You can find this element in the index.html file inside the public folder.
<!DOCTYPE html>
<html lang="en">
    <head>
        <meta charset="utf-8" />
        <link rel="icon" href="%PUBLIC_URL%/favicon.ico" />
        <meta name="viewport" content="width=device-width, initial-scale=1" />
        <meta name="theme-color" content="#000000" />
        <meta
        name="description"
        content="Web site created using create-react-app"
        />
        <link rel="apple-touch-icon" href="%PUBLIC_URL%/logo192.png" />
        <link rel="manifest" href="%PUBLIC_URL%/manifest.json" />
        <title>React App</title>
    </head>
    <body>
        <noscript>You need to enable JavaScript to run this app.</noscript>
        <div id="root"></div>
    </body>
</html>
This is the HTML file that will be served by the web server. It’s a simple HTML file that contains the <div> element with an ID of root. React will render the App component inside of this element and you see the React app there as a result.
Conclusion
React is a declarative, flexible and modern JavaScript library for building user interfaces. This tutorial only covered the basics of React, but you can learn more about React by going to the official React website. Hopefully this post has been useful in helping you get started with React including how to get a starter app running, and a basic overview of React components and JSX.

