
If you are interested to learn about the Python geopy
In this tutorial, we are going to learn about Gmail API in Python, and we will also learn how we can use Gmail APIs in Python to perform many Gmail operations such as sending an email, searching an email, deleting an email, etc. For this, we will learn to set up Gmail API in our Python script. First, let us have a brief of Gmail API and its basic introduction.
Gmail APIs
Gmail is the most popular mail service in today’s world, and it is used by almost all of us and many organizations. Over past years, many Gmail features are enhanced with the use of AI, including suggestions while composing emails and security features (detecting fraud and spam emails). Gmail API is APIs based on RESTful APIs that allow its users to interact with our Gmail account, and it helps us to use its features using a Python script.
Prerequisites of Using Gmail APIs in Python
We must fulfil the following requirements for using Gmail APIs in our Python script:https://imasdk.googleapis.com/js/core/bridge3.513.0_en.html#goog_64482289418.6M280Triggers in SQL (Hindi)
- We should have a Python version higher or equal to 2.6.
- We must have a google account with Gmail service enabled of it.
- The system must be installed BeautifulSoup library (if not, then we should use ‘pip install bsp’ syntax in the command terminal to install it in our device).
- We should have basic knowledge of Google OAuth libraries and Google API client.
Installation of Required libraries:
Before enabling the Gmail APIs to use them in our Python script, let’s first install the pre-required libraries in our system. To install the pre-required libraries for enabling the Gmail APIs, we should follow the following steps:
Step 1: Open the command prompt terminal of the system and make sure that our device has an active internet connection.
Step 2: Write down the following command in the terminal:
pip install --upgrade google-api-python-client google-auth-httplib2 google-auth-oauthlib
Now, press enter to start the installation of libraries.
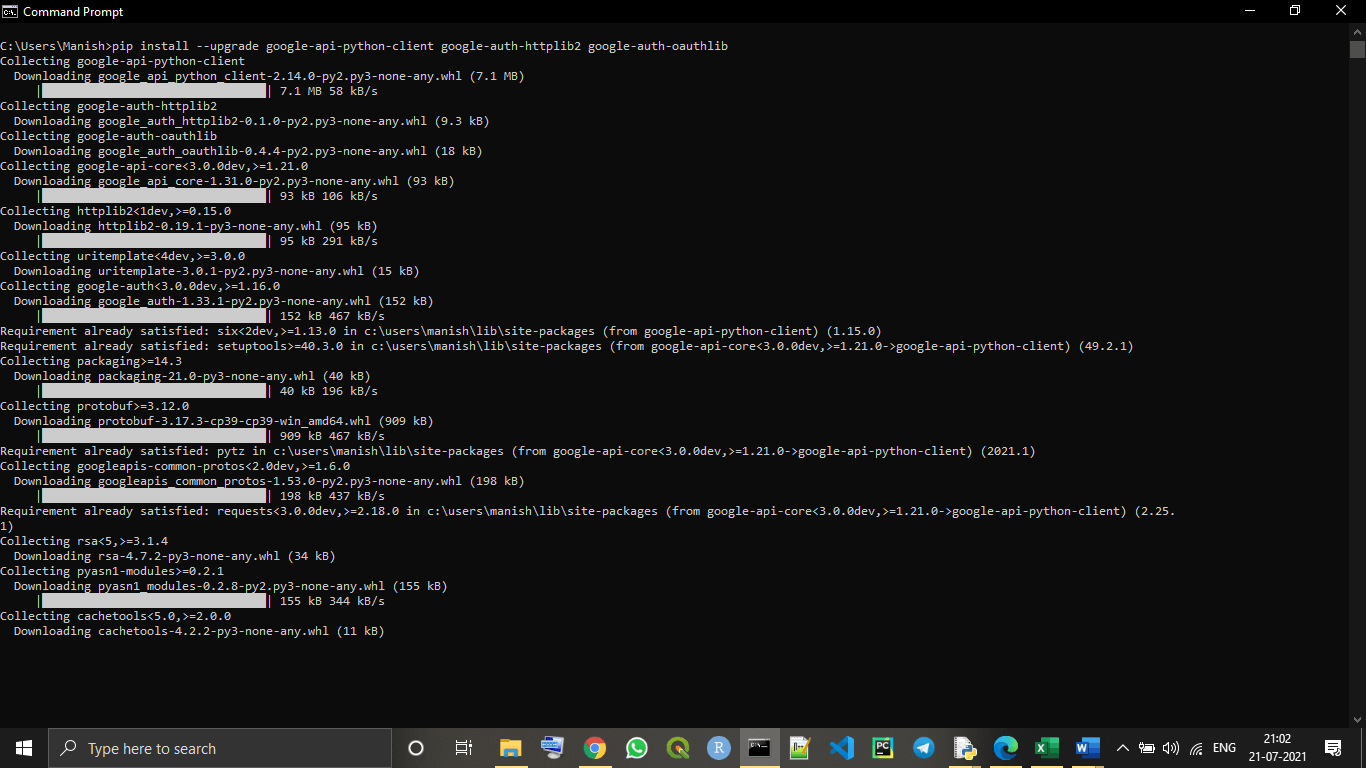
As we can see that, the pre-required libraries for enabling Gmail APIs are successfully installed in our system. Now, we can proceed with enabling Gmail APIs part in this tutorial.
Enabling Gmail APIs in our device
We have to follow the following given steps to enable Gmail APIs in our device so that we can use these APIs in our Python script:
Step 1: Creating New Project on Google Cloud console:
In this step, first, we have to login into the Google cloud console (https://console.cloud.google.com/?pli=1) with our Google account, and then we have to click on ‘New Project’ to create a new project.
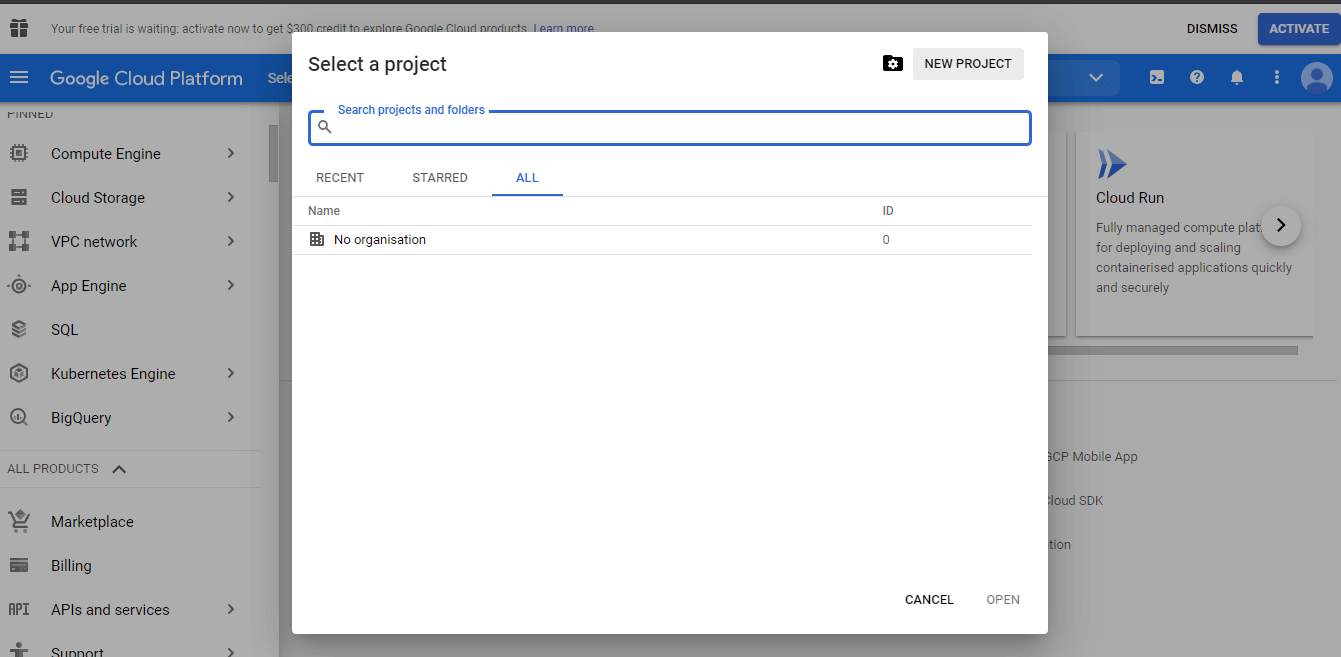
If we already have an existing project, then we can also continue with the existing project.
Step 2: Now, we have to go to the API and services option from the Project menu that we have created.
Step 3: Now, we can see the option ‘Enable Gmail API and services,’ and we have to choose this option to enable Gmail APIs for the project.
Step 4: Configuration of Consent screen:
Now, in this step, we will configure the consent screen of the project we created by clicking on the ‘OAuth Consent Screen’ option given in the menu. We can only see this option if the consent screen is not already configured.https://08a255740f0b6c6b185aa94c898488f7.safeframe.googlesyndication.com/safeframe/1-0-38/html/container.html
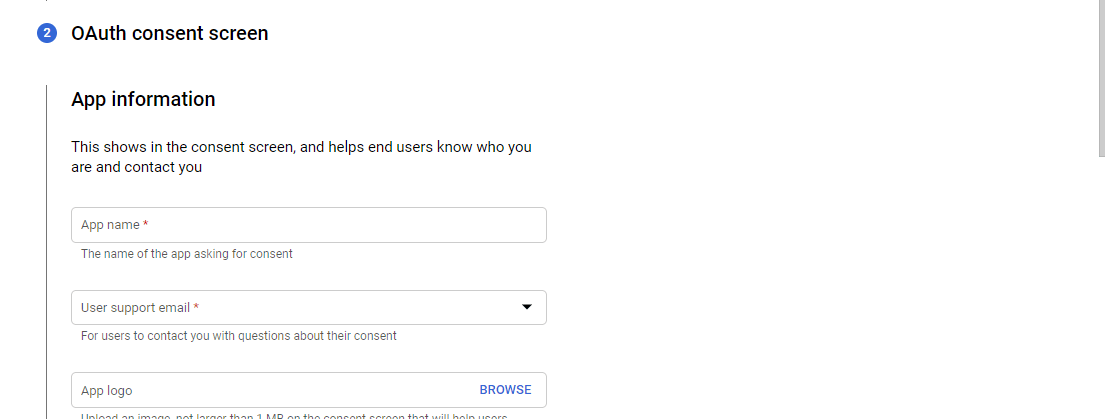
Step 5: Now, we have to enter the application name of our choice and save the project.
Step 6: Now, click on the credentials option and go to credentials.
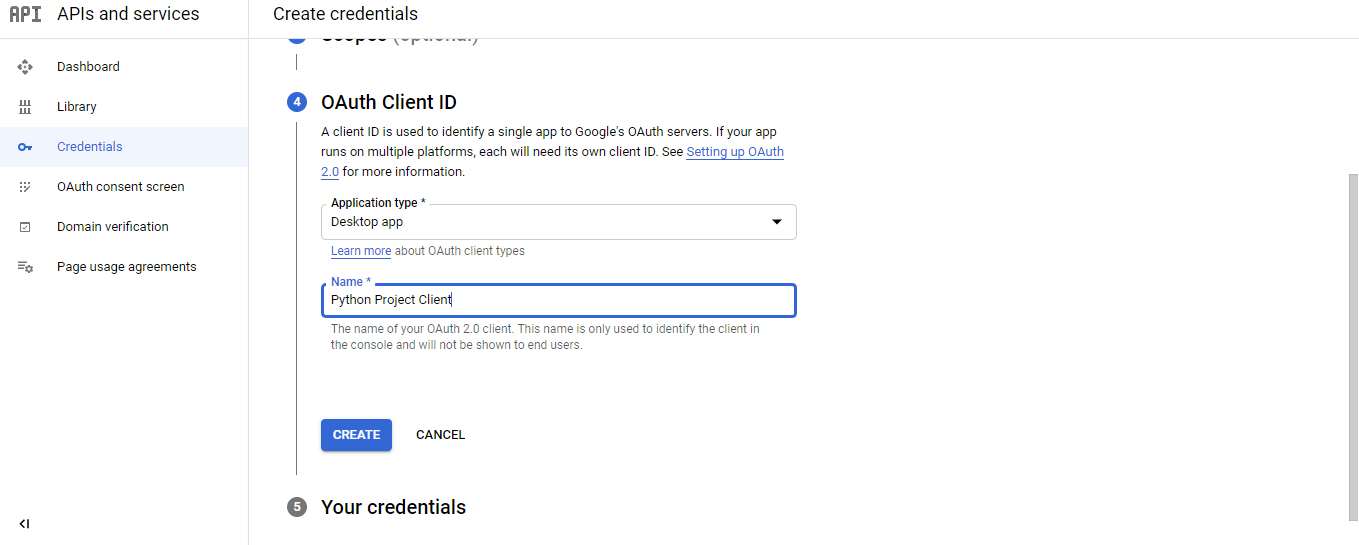
Step 7: Creating an OAuth Client ID:
Now, we click on the ‘create credentials’ option and go to the OAuth Client ID to create it.
We perform this by following the below sequential procedure to create a new OAuth Client ID for our project:
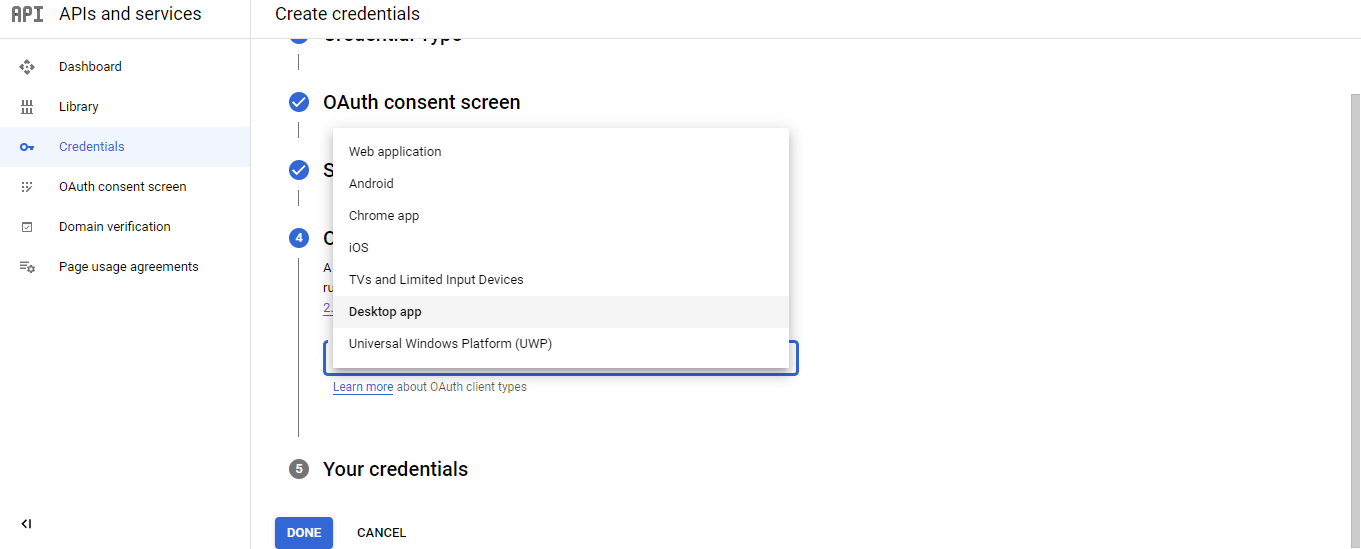
- First, we choose the application type as the desktop application for the project.
- After that, we enter the application name (can be the same as we have set in the above steps or can be different) and click on the create button.
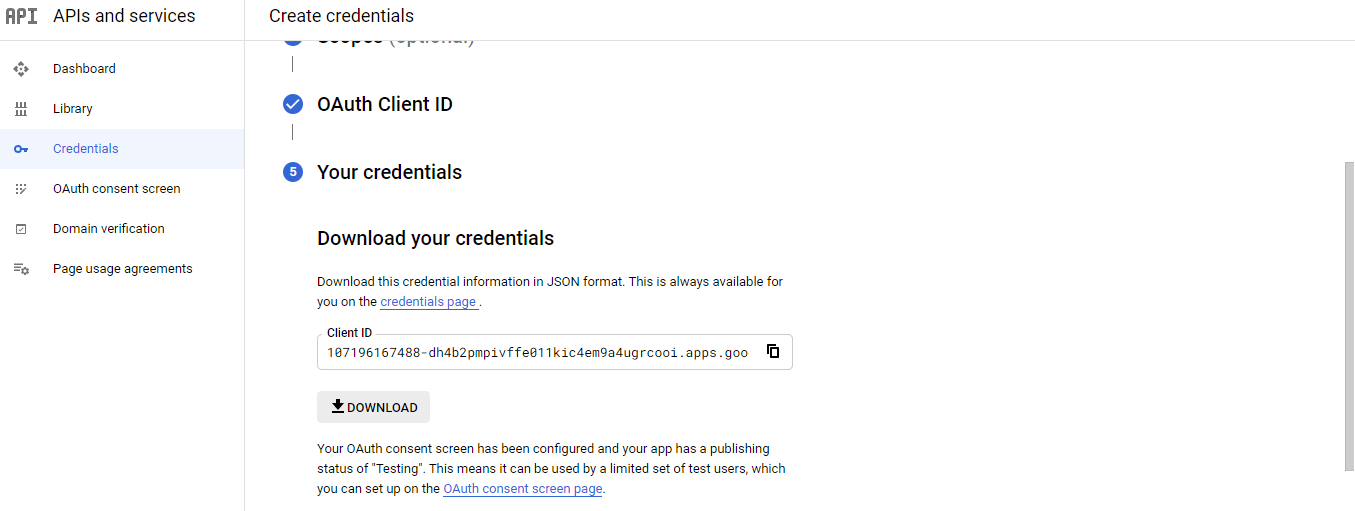
- Now, the OAuth client ID will be created for our project, and we download it and save it with the ‘credentials.json’ name and format for future references.
Now, we are done with all the steps of enabling Gmail APIs, and we can start using Gmail APIs in our Python script.
Note: We have to save the client ID and password so that we can use them in future references if required.
Importing Necessary Modules
Now, we have set up all the necessary APIs and we should forward with importing all the necessary modules. Let’s see the below example of importing modules.
Example –
# Importing os and pickle module in program
import os
import pickle
# Creating utils for Gmail APIs
from googleapiclient.discovery import build
from google_auth_oauthlib.flow import InstalledAppFlow
from google.auth.transport.requests import Request
# Importing libraries for encoding/decoding messages in base64
from base64 import urlsafe_b64decode, urlsafe_b64encode
# Importing libraries for dealing with the attachment of MIME types in Gmail
from email.mime.text import MIMEText
from email.mime.multipart import MIMEMultipart
from email.mime.image import MIMEImage
from email.mime.audio import MIMEAudio
from email.mime.base import MIMEBase
from email.mime.multipart import MIMEMultipart
from mimetypes import guess_type as guess_mime_type

# Request all access from Gmail APIs and project
SCOPES = ['https://mail.google.com/']
OurEmailID = 'OurMail@gmail.com' # giving our Gmail Id

# using a default function to authenticate Gmail APIs
def authenticateGmailAPIs():
    creds = None
    # Authorizing the Gmail APIs with tokens of pickles
    if os.path.exists("token.pickle"): # using if else statement
        with open("token.pickle", "rb") as token:
            creds = pickle.load(token)
    # If there are no valid credentials available in device, we will let the user sign in manually
    if not creds or not creds.valid:
        if creds and creds.expired and creds.refresh_token:
            creds.refresh(Request())
        else:
            flow = InstalledAppFlow.from_client_secrets_file('client_secret_107196167488-dh4b2pmpivffe011kic4em9a4ugrcooi.apps.googleusercontent.com.json', SCOPES) # downloaded credential name
            creds = flow.run_local_server(port=0) # running credentials
        # Save the credentials for the next run
        with open("token.pickle", "wb") as token:
            pickle.dump(creds, token)
    return build('Gmail', 'v1', credentials=creds) # using Gmail to authenticate

# Get the Gmail API service by calling the function
service = authenticateGmailAPIs()
Output:
Please visit this URL to authorize this application: https://accounts.google.com/o/oauth2/auth?response_type=code&client_id=107196167488-dh4b2pmpivffe011kic4em9a4ugrcooi.apps.googleusercontent.com&redirect_uri=http%3A%2F%2Flocalhost%3A55991%2F&scope=https%3A%2F%2Fmail.google.com%2F&state=kfXlNyjvbKetyUK0op7OF9WY7shrKS&access_type=offline
Explanation –
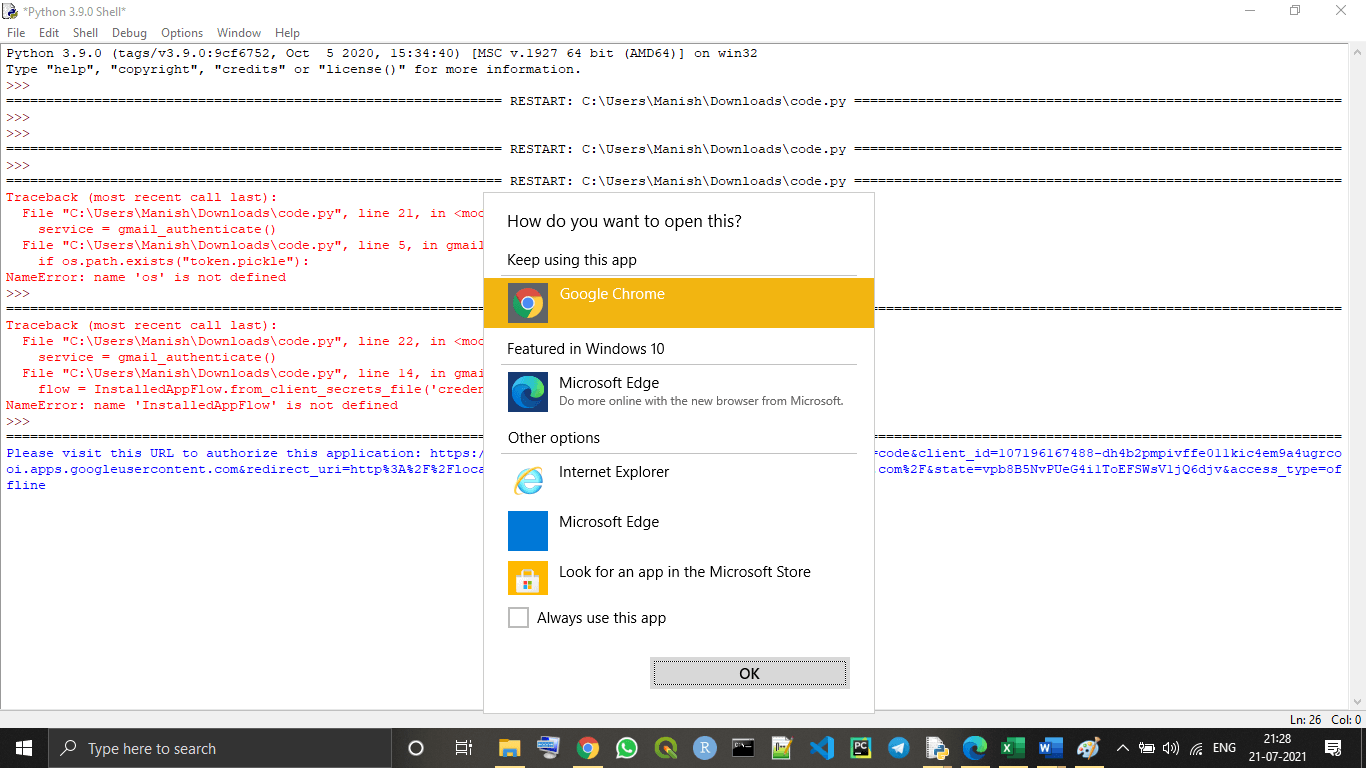
When we run the above given program, we will see an option to choose the browser, as we can see in the above image, and if we don’t see an option like this, we need to click on the link given in the output. Then, we can select the browser of our choice or the default browser of the system to continue the process. Now, when we select the browser, we will be redirected to our browser and can see the following tab opened in it:
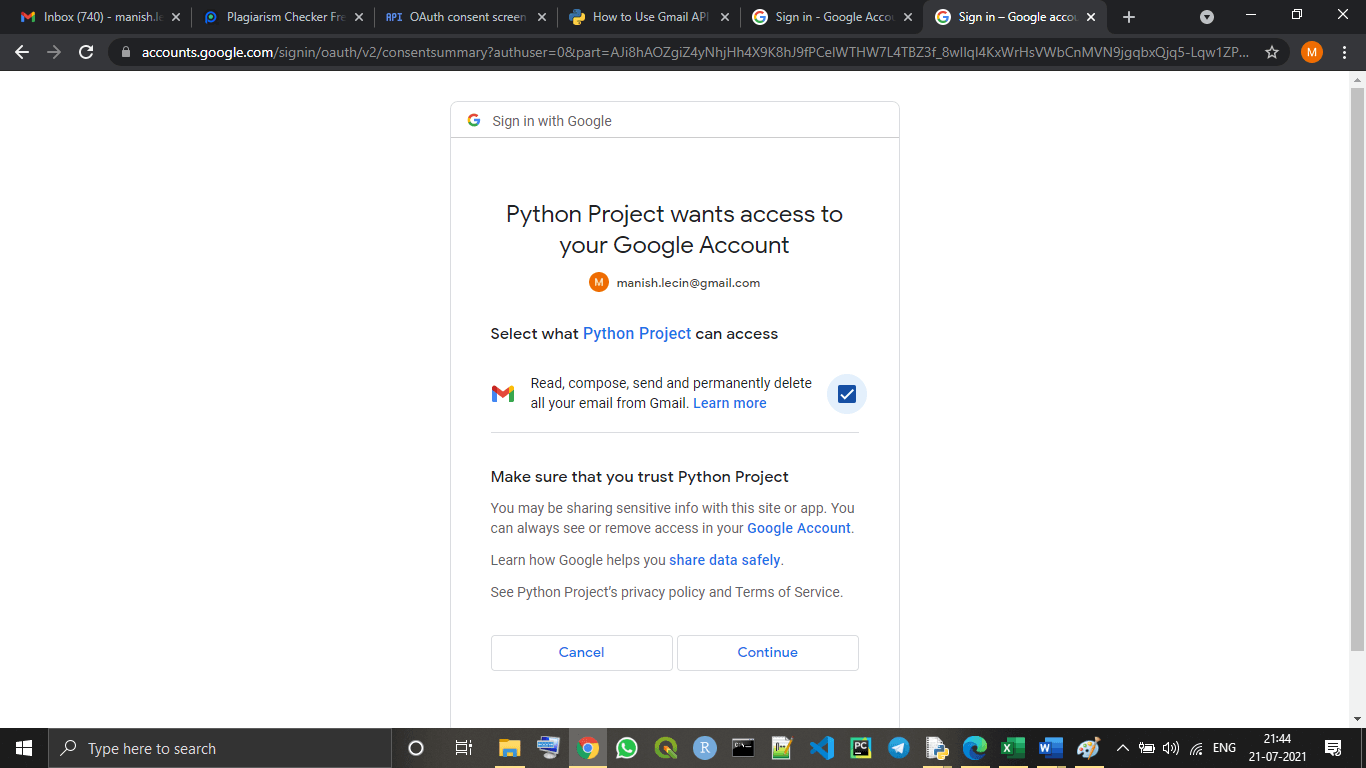
Now, we tick the checkbox option shown in the dialogue box to give the required permissions, and then, we will have to click on the continue option. After clicking on continue, we can see the following window will open in the same tab:
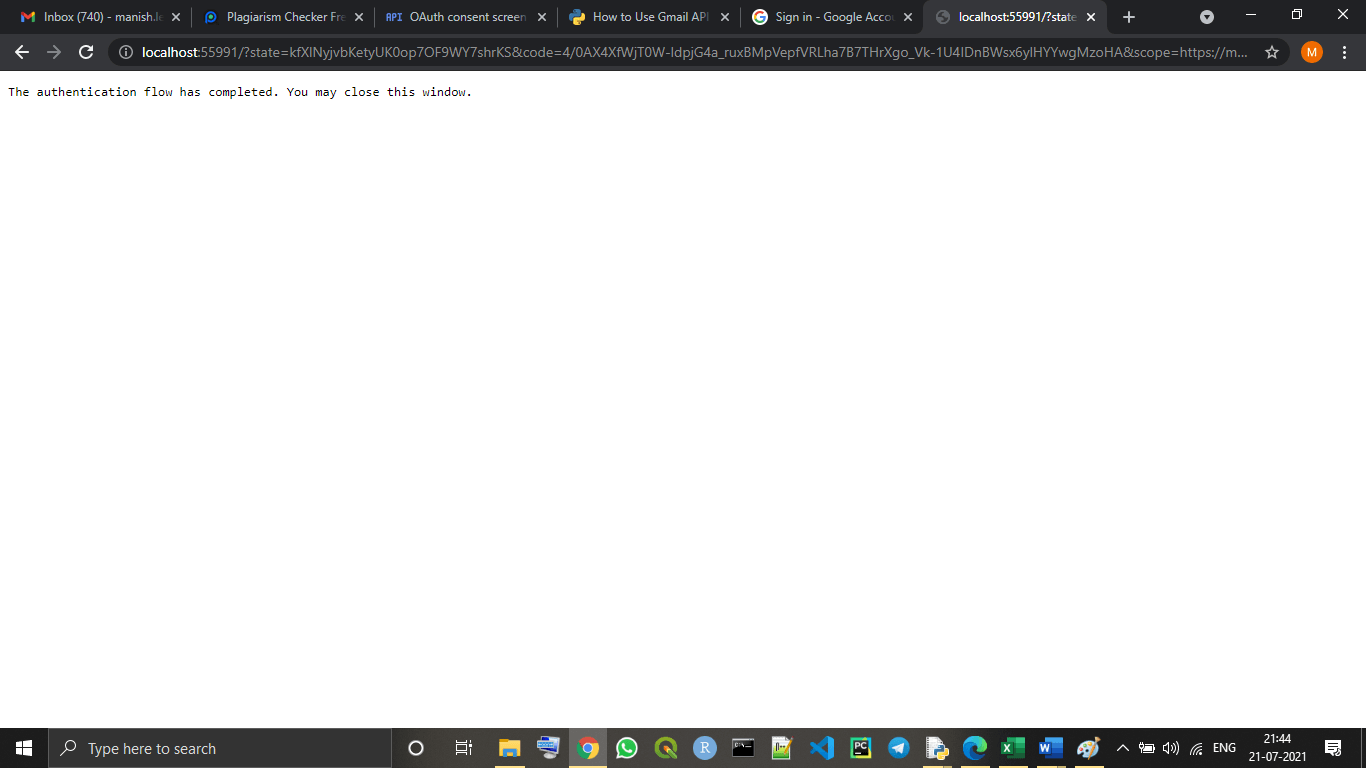
As the window is showing, the authentication part for enabling Gmail API is completed, and we have linked our Gmail account with the project for Gmail APIs we created.
Note: Of course, we have to put our mail that we can connect to Gmail APIs and use for future references for working with Gmail APIs, in the place of ‘OurMail@gmail.com’ as provided in the above program.
Performing Actions using Gmail APIs in Python
Now, we have completely set up and enabled Gmail APIs in our project with Python script. Now, we can perform many actions from our Gmail account with a Python program.
We can perform the following Gmail actions with our Python script using Gmail APIs in it:
- Sending an email
- Searching an email
- Deleting an email or entire emails history
- Reading an email
- Marking read/unread an email etc.
In this tutorial, we will only about sending an email using Gmail APIs in our Python program, and we will learn to write the code to perform this action with Python script.
Sending an email
We can simply write and send an email by writing a Python program and using enabled Gmail APIs in it. Here, in this section, we will write a Python program by which we can send emails from our Gmail account just by running the program.
Look at the following Python program for a better understanding of it:
Example –
# importing os and pickle module in program
import os
import pickle
# Creating utils for Gmail APIs
from googleapiclient.discovery import build
from google_auth_oauthlib.flow import InstalledAppFlow
from google.auth.transport.requests import Request
# Importing libraries for encoding/decoding messages in base64
from base64 import urlsafe_b64decode, urlsafe_b64encode
# Importing libraries for dealing with the attachment of MIME types in Gmail
from email.mime.text import MIMEText
from email.mime.multipart import MIMEMultipart
from email.mime.image import MIMEImage
from email.mime.audio import MIMEAudio
from email.mime.base import MIMEBase
from email.mime.multipart import MIMEMultipart
from mimetypes import guess_type as guess_mime_type

# Request all access from Gmail APIs and project
SCOPES = ['https://mail.google.com/'] # providing the scope for Gmail APIs
OurEmailID = 'OurMail@gmail.com' # giving our Gmail Id

# using a default function to authenticate Gmail APIs
def authenticateGmailAPIs():
    creds = None
    # authorizing the Gmail APIs with tokens of pickles
    if os.path.exists("token.pickle"): # using if else statement
        with open("token.pickle", "rb") as token:
            creds = pickle.load(token)
    # if there are no valid credentials available in device, we will let the user sign in manually
    if not creds or not creds.valid:
        if creds and creds.expired and creds.refresh_token:
            creds.refresh(Request())
        else:
            flow = InstalledAppFlow.from_client_secrets_file('client_secret_107196167488-dh4b2pmpivffe011kic4em9a4ugrcooi.apps.googleusercontent.com.json', SCOPES) # downloaded credential name
            creds = flow.run_local_server(port=0) # running credentials
        # save the credentials for the next run
        with open("token.pickle", "wb") as token:
            pickle.dump(creds, token)
    return build('gmail', 'v1', credentials=creds) # using Gmail to authenticate

# Get the Gmail API service by calling the function
ServicesGA = authenticateGmailAPIs()

# Using a default funnction to add attachments in Mail
def AddAttachment(mail, NameofFile):
    content_type, encoding = guess_mime_type(NameofFile)
    if content_type is None or encoding is not None: # defining none file type attachment
        content_type = 'application/octet-stream'
    main_type, sub_type = content_type.split('/', 1)
    if main_type == 'text': # defining text file type attachment
        fp = open(NameofFile, 'rb') # opening file
        msg = MIMEText(fp.read().decode(), _subtype = sub_type)
        fp.close()
    elif main_type == 'image': # defining image file type attachment
        fp = open(NameofFile, 'rb')
        msg = MIMEImage(fp.read(), _subtype = sub_type)
        fp.close()
    elif main_type == 'audio': # defining audio file type attachment
        fp = open(NameofFile, 'rb')
        msg = MIMEAudio(fp.read(), _subtype = sub_type) # reading file
        fp.close()
    else:
        fp = open(NameofFile, 'rb')
        msg = MIMEBase(main_type, sub_type)
        msg.set_payload(fp.read())
        fp.close() # closing file
    NameofFile = os.path.basename(NameofFile)
    msg.add_header('Content-Disposition', 'attachment', NameofFile = NameofFile)
    mail.attach(msg) # composing the mail with given attachment

# Creating mail with a default function
def CreateMail(RecieverMail, SubofMail, BodyofMail, attachments=[]): # various import content of mail as function's parameter
    # Using if else to check if there is any attachment in mail or not
    if not attachments: # no attachment is given in the mail
        mail = MIMEText(BodyofMail) # Body of Mail
        mail['to'] = RecieverMail # mail ID of Reciever
        mail['from'] = OurEmailID # our mail ID
        mail['subject'] = SubofMail # Subject of Mail
    else: # attachment is given in the mail
        mail = MIMEMultipart()
        mail['to'] = RecieverMail
        mail['from'] = OurEmailID
        mail['subject'] = SubofMail
        mail.attach(MIMEText(BodyofMail))
        for NameofFile in attachments:
            AddAttachment(mail, NameofFile)
    return {'raw': urlsafe_b64encode(mail.as_bytes()).decode()}

# Creating a default function to send a mail
def SendMail(ServicesGA, RecieverMail, SubofMail, BodyofMail, attachments=[]):
    return ServicesGA.users().messages().send(
      userId = "me",
      body = CreateMail(RecieverMail, SubofMail, BodyofMail, attachments)
    ).execute() # Body of the mail with execute() function

# Sending an email by adding important content, i.e., Reciever's mail, Subject, Body, etc.
SendMail(ServicesGA, "Reciever@gmail.com", "Python Project i.e., This is the subject of Mail we are sendimg!",
            "Now, this is the body of the email we are writing and we can add only written text here!", ["test.txt", "client_secret_107196167488-dh4b2pmpivffe011kic4em9a4ugrcooi.apps.googleusercontent.com.json"]) # calling out default SendMail() function
Output:

If we put our mail in the place of the receiver’s mail, i.e., Reciever@gmail.com, we will find that the mail is actually sent to the mail we entered as receiver’s mail when we run the program, same as what we can see in the above output image.
Sending an Email in Code
We’ll need to start by configuring our application. In a new file, I called mine send.py, add the following code:
from flask import Flask
from flask_mail import Mail, Message
import os

app = Flask(__name__)

mail_settings = {
    "MAIL_SERVER": 'smtp.gmail.com',
    "MAIL_PORT": 465,
    "MAIL_USE_TLS": False,
    "MAIL_USE_SSL": True,
    "MAIL_USERNAME": os.environ['EMAIL_USER'],
    "MAIL_PASSWORD": os.environ['EMAIL_PASSWORD']
}

app.config.update(mail_settings)
mail = Mail(app)
Save your EMAIL_USER, which is your full login like “mycoolemail@gmail.com“, and EMAIL_PASSWORD as environment variables so we’re not hardcoding credentials in our application. To learn more about setting environment variables in your operating system, check out this handy post.
Now we can send an email! Below your configuration code add the following:
if __name__ == '__main__':
    with app.app_context():
        msg = Message(subject="Hello",
                      sender=app.config.get("MAIL_USERNAME"),
                      recipients=["<recipient email here>"], # replace with your email for testing
                      body="This is a test email I sent with Gmail and Python!")
        mail.send(msg)
Make sure to replace the recipients list with a list containing just your email so you can test it out.
Run the program by typing python send.py in your terminal and with a bit of luck (I’ll explain more below) you should receive an email at the recipient address you plugged in. HOWEVER, there’s a good chance this doesn’t work and you’ll get an email like this.
If you’re getting an smtplib.SMTPAuthenticationError you’ll need to configure a few things in your Google account.
Hacking Gmail Security
OK fine this is all legitimate but Google discourages it in a few ways that we’ll have to reconfigure. Update the following in your account security settings
1. Allow less secure apps: ON.
By default, Google will block connections from insecure apps. That probably includes the one running on your laptop or that you deployed to a random Heroku server.
Be aware that this won’t work for accounts that have 2FA enabled, and please do not disable 2FA on your email. You can either use a separate account or create application-specific passwords instead.

That *might* be all you need, but if you’re still getting authentication errors try the following:
2. Display Unlock Captcha.
Last but not least, IMAP access will allow you to store a copy of sent mail in your sent mail folder.
3. Enable IMAP Access

Try running your application again and this time it should work. If you’re still getting errors double check that allow less secure apps is on since Gmail was re-disabling it for me sometimes. Wait a moment and then try again.
Why isn’t that an API?
Google offers a free service and free services are magnets for fraud. The security features they’ve implemented aim to discourage people from abusing their mail server. They’ve made it annoying enough to use that I’m sold on switching to a more maintainable solution for larger projects.
The Gmail option is great for sending a few one-off emails for a side project, but I encourage you to check out a service like SendGrid. SendGrid provides a Twilio-like API for sending email and has much nicer error messages when things go awry.

